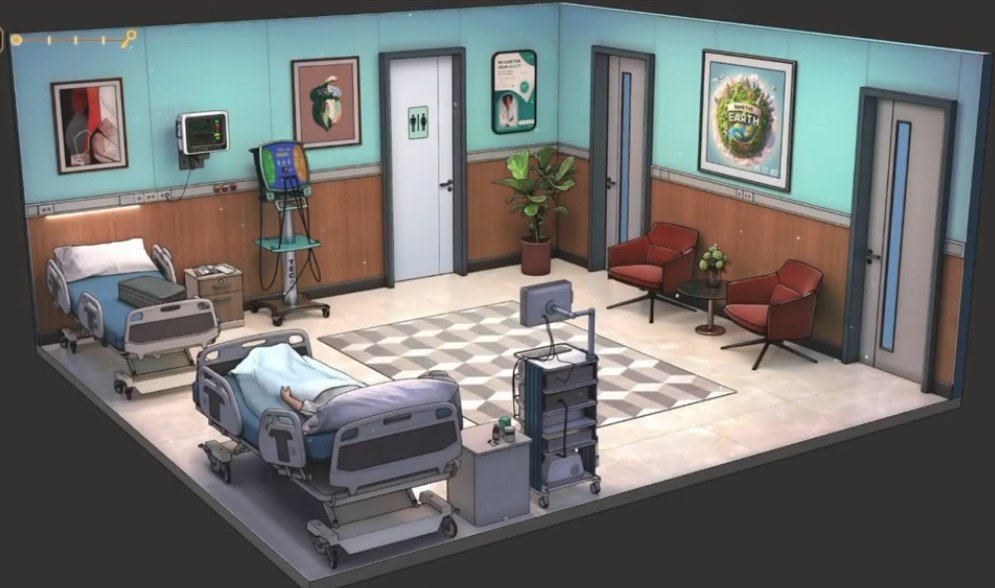
Here you will get solutions and step by step guide for Rooms & Exits Chapter 5 Level 10. In this puzzle developed by Webelinx Games. Every clue tells a story, and every puzzle brings you closer to the truth. Join Fiona, a brave journalist with a sharp eye for hidden secrets, as she investigates mysterious cases filled with unexpected surprises. This level belongs to the Death on the Dancefloor category and is the A Hospital Room level.
Search for clues, solve challenging puzzles, and uncover the secrets hidden in every location. Each level offers a fresh mystery that will test your observation skills and logical thinking. Whether you enjoy detective stories, escape room challenges, or brain-teasing adventures, this game delivers an exciting experience from start to finish.

Rooms & Exits A Hospital Room – Chapter 5 Level 10 Solution
The following guide explains how to solve Rooms and Exits A Hospital Room step by step.
If you get stuck at any point, leave a comment below. Our team will be happy to help you find the solution.
Phase 1: Investigating the Patient Ward & Finding Basic Tools
- Step 1: Search the bedside area to collect the Scalpel, Syringe, Small Key, and Plastic Slider Token.
- Step 2: Use the Small Key to unlock the medicine locker.
- Step 3: Collect the Tweezers and Alcohol Solvent from the locker.
Phase 2: Deciphering the Chart & Heart Rate Monitor
- Step 1: Use the Alcohol Solvent on the patient chart to reveal the hidden symbol code.
- Step 2: Insert the Plastic Slider Token into the desk drawer, solve the slider puzzle, and collect the USB Drive and ECG Monitor Cable.
- Step 3: Connect the ECG Monitor Cable to the heart monitor and note the code 2648.
Phase 3: The Lab Centrifuge & Digital Escape
Video Walkthrough
Congratulations on completing Chapter 5 – Level 10! Click here to unlock Chapter 5 – Level 11.