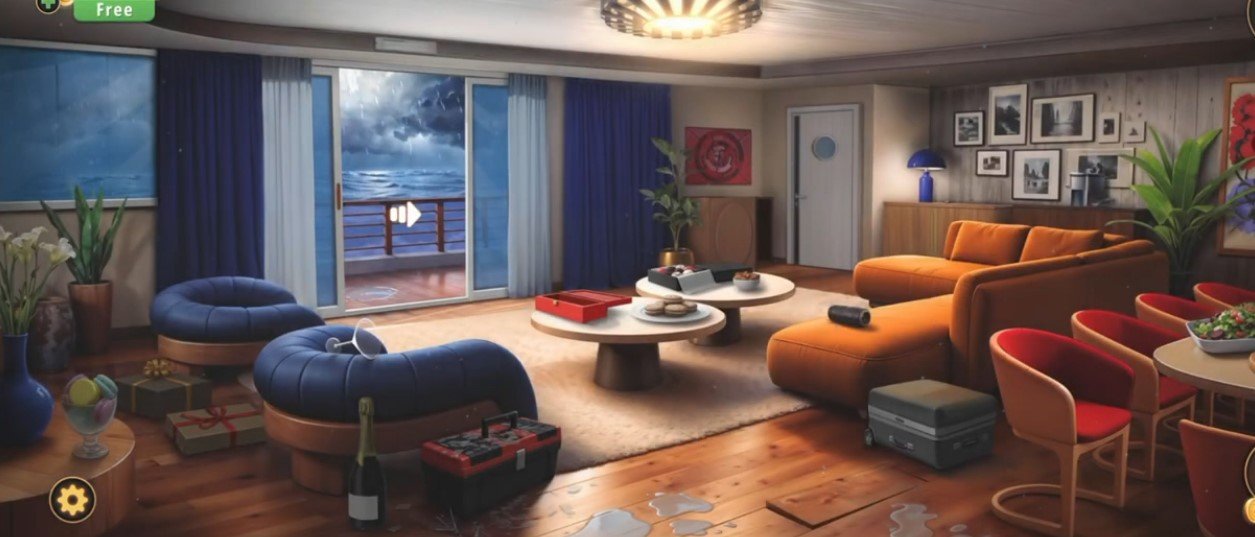
Here you will get solutions and step by step guide for Rooms & Exits Chapter 6 Level 1. In this puzzle developed by Webelinx Games. Every clue tells a story, and every puzzle brings you closer to the truth. Join Fiona, a brave journalist with a sharp eye for hidden secrets, as she investigates mysterious cases filled with unexpected surprises. This level belongs to the Dark Waters category and is the Locked in the Storm level.
Search for clues, solve challenging puzzles, and uncover the secrets hidden in every location. Each level offers a fresh mystery that will test your observation skills and logical thinking. Whether you enjoy detective stories, escape room challenges, or brain-teasing adventures, this game delivers an exciting experience from start to finish.

Rooms & Exits Locked in the Storm – Chapter 6 Level 1 Solution
The following guide explains how to solve Rooms and Exits Locked in the Storm step by step.
If you get stuck at any point, leave a comment below. Our team will be happy to help you find the solution.
The Initial Scene and Logbook Clue
- Step 1: Start the game inside the dark wooden sea cabin.
- Step 2: Look around the room and find the workbench.
- Step 3: On the workbench, you will see a water-damaged logbook.
- Step 4: Open the logbook and read it carefully.
- Step 5: Find the words “Lighthouse A” inside the logbook.
- Step 6: Notice the symbols Wave and Anchor.
- Step 7: Remember these symbols because they are an important clue for the next puzzle.
Collect Your First Tool
- Step 1: Look around the cabin for useful items.
- Step 2: Find the large iron sea chest on the floor.
- Step 3: Notice that the chest is locked with Fish, Anchor, and Storm symbols.
- Step 4: Look near the bottom of the chest.
- Step 5: Find the loose wooden plank.
- Step 6: Move the loose plank.
- Step 7: Pick up the small rusted key hidden under the plank.
- Step 8: Save the key in your inventory.
Access the Workbench Drawer
- Step 1: Return to the workbench.
- Step 2: Find the small locked drawer.
- Step 3: Use the rusted key to unlock the drawer.
- Step 4: Open the drawer.
- Step 5: Collect the glass lens.
- Step 6: Collect the three-dial code lock diagram.
- Step 7: Keep both items in your inventory.
Decode the Wall Safe
- Step 1: Walk to the wall safe.
- Step 2: Look at the three symbol dials.
- Step 3: Use the clue from the logbook.
- Step 4: Set the first dial to Wave.
- Step 5: Set the second dial to Anchor.
- Step 6: Set the third dial to Fish.
- Step 7: The safe will unlock.
- Step 8: Open the safe.
- Step 9: Collect the lens holder.
Assemble the Focusing Scope
- Step 1: Open your inventory.
- Step 2: Select the glass lens.
- Step 3: Select the lens holder.
- Step 4: Combine both items.
- Step 5: You will create the Focusing Scope.
- Step 6: The scope is now ready to use.
Use the Scope and Read the Signal
- Step 1: Walk to the stormy window.
- Step 2: Look at the lighthouse in the distance.
- Step 3: Equip the Focusing Scope.
- Step 4: Use the scope to observe the lighthouse.
- Step 5: Watch the light flashes carefully.
- Step 6: Count 3 short flashes.
- Step 7: Count 1 long flash.
- Step 8: Count 2 short flashes.
- Step 9: The final code is 3-1-2.
Enter the Final Code
- Step 1: Walk to the main exit door.
- Step 2: Find the keypad next to the door.
- Step 3: Press the numbers 3-1-2.
- Step 4: Confirm the code.
- Step 5: The door lock will open.
Escape the Cabin
- Step 1: The heavy door slowly opens.
- Step 2: The storm enters the cabin.
- Step 3: Walk through the open door.
- Step 4: You have successfully escaped.
- Step 5: Level 1: Locked in the Storm is now complete.
Video Walkthrough
Congratulations on completing Chapter 6 – Level 1! Click here to unlock Chapter 6 – Level 2.