Here you will get solutions and step by step guide for Rooms & Exits Chapter 6 Level 2. In this puzzle developed by Webelinx Games. Every clue tells a story, and every puzzle brings you closer to the truth. Join Fiona, a brave journalist with a sharp eye for hidden secrets, as she investigates mysterious cases filled with unexpected surprises. This level belongs to the Dark Waters category and is the The Fatal Revelation level.
Search for clues, solve challenging puzzles, and uncover the secrets hidden in every location. Each level offers a fresh mystery that will test your observation skills and logical thinking. Whether you enjoy detective stories, escape room challenges, or brain-teasing adventures, this game delivers an exciting experience from start to finish.

Rooms & Exits The Fatal Revelation – Chapter 6 Level 2 Solution
The following guide explains how to solve Rooms and Exits The Fatal Revelation step by step.
If you get stuck at any point, leave a comment below. Our team will be happy to help you find the solution.
Enter Control Room
- Step 1: Start Level 2 and enter the main control room.
- Step 2: Look around the room and observe the different machines and control panels.
- Step 3: Explore the area carefully to find useful objects and clues.
Find Valve Key
- Step 1: Walk towards the workbench inside the control room.
- Step 2: Look carefully at the tools placed on the bench.
- Step 3: Find the brass valve key.
- Step 4: Pick up the valve key and add it to your inventory.
Activate Main Valve
- Step 1: Find the large engine valve connected to the steam pipes.
- Step 2: Select the brass valve key from your inventory.
- Step 3: Use the key on the main valve.
- Step 4: Turn the valve until it stops.
- Step 5: The steam begins to clear from the room.
Reveal Wire Puzzle
- Step 1: Wait for the steam to disappear.
- Step 2: Look behind the cleared area.
- Step 3: A hidden electrical panel will become visible.
- Step 4: Open the panel to reveal the color-coded wire puzzle.
Collect Color Chart
- Step 1: Search the control room for another clue.
- Step 2: Find the nautical flag color chart.
- Step 3: Read the color sequence carefully.
- Step 4: Remember the order: Red, Blue, Green, Yellow, Black.
Connect Color Wires
- Step 1: Return to the hidden wire panel.
- Step 2: Match each wire using the color chart.
- Step 3: Connect the wires in this order: Red → Blue → Green → Yellow → Black.
- Step 4: Check that every wire is connected correctly.
- Step 5: The puzzle will be solved successfully.
Secure Dr. Elara’s Diary
- Step 1: After solving the wire puzzle, the nearby safe will unlock.
- Step 2: Open the safe.
- Step 3: Collect Dr. Elara’s Diary.
- Step 4: Read the diary to learn about The Fatal Discovery.
Interpret Final Code
- Step 1: Continue reading the diary carefully.
- Step 2: Find the hidden code written inside.
- Step 3: The final code is 4791.
- Step 4: Go to the escape hatch keypad.
- Step 5: Enter the code 4791.
- Step 6: The escape hatch unlocks, and you successfully complete Level 2: The Fatal Revelation.
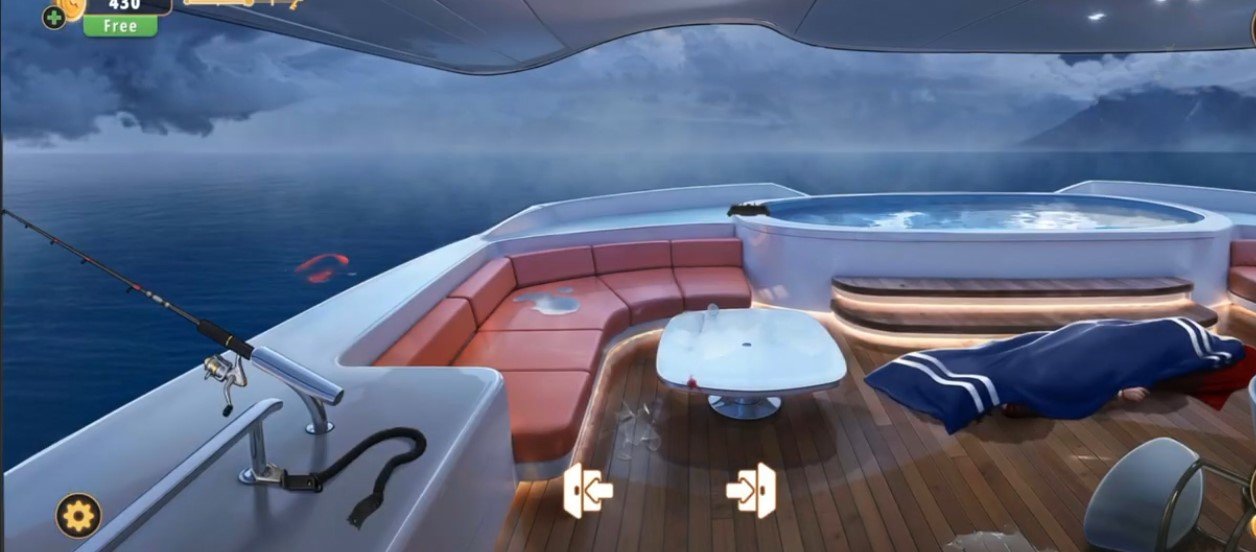
Video Walkthrough
Congratulations on completing Chapter 6 – Level 2! Click here to unlock Chapter 6 – Level 3.