Here you will get solutions and step by step guide for Rooms & Exits Chapter 6 Level 4. In this puzzle developed by Webelinx Games. Every clue tells a story, and every puzzle brings you closer to the truth. Join Fiona, a brave journalist with a sharp eye for hidden secrets, as she investigates mysterious cases filled with unexpected surprises. This level belongs to the Dark Waters category and is the Megan’s Last Secrets level.
Search for clues, solve challenging puzzles, and uncover the secrets hidden in every location. Each level offers a fresh mystery that will test your observation skills and logical thinking. Whether you enjoy detective stories, escape room challenges, or brain-teasing adventures, this game delivers an exciting experience from start to finish.

Rooms & Exits Megan’s Last Secrets – Chapter 6 Level 4 Solution
The following guide explains how to solve Rooms and Exits Megan’s Last Secrets step by step.
If you get stuck at any point, leave a comment below. Our team will be happy to help you find the solution.
Phase 1: Unlock the Closets & Cabinets
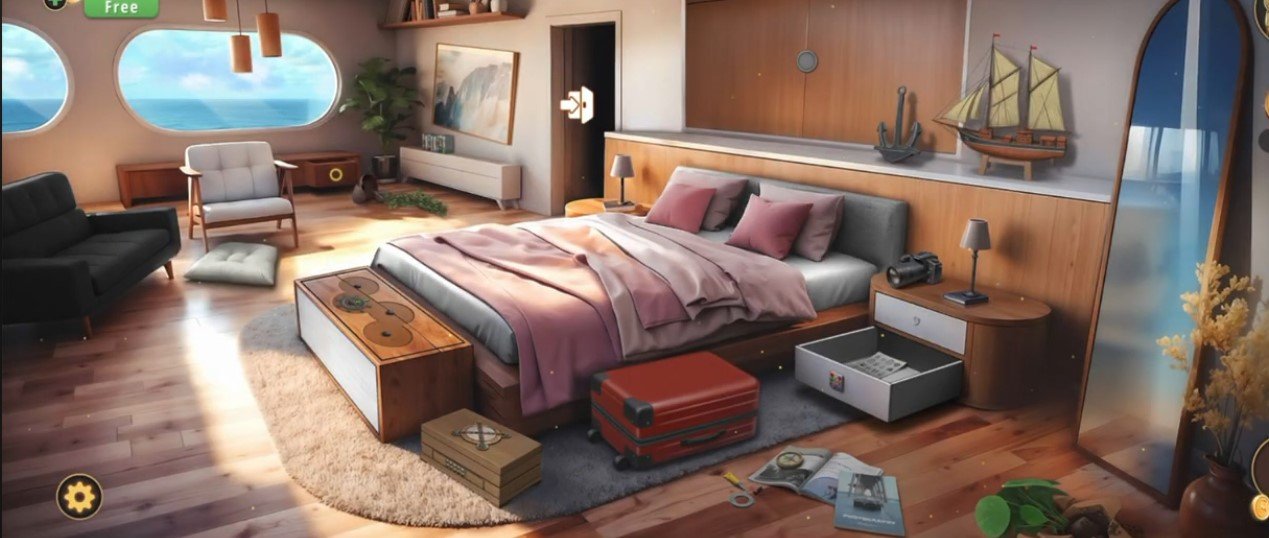
- Step 1: Tap the drawer below the bedside lamp and solve the colored dots puzzle by matching each dot to its correct color.
- Step 2: Open the drawer and collect the Metal Ship Wheel Template and the Animal Paper.
- Step 3: Go to the wardrobe and tap the keypad cabinet. Enter the code:
- 95732156
- Step 4: Open the cabinet and collect the Key, Nail File, and 4 Mini Surfboards.
Phase 2: Solve the Surfboard Puzzle
- Step 5: Return to the bedroom and place the 4 Mini Surfboards on the wall display. Arrange them in the correct order.
- Step 6: Open the hidden compartment and collect the Sticker Sheet.
- Step 7: Combine the Transparent Letter Sheet with the Sticker Sheet to reveal the password:
- FREEDOM
- Step 8: Go back to the wardrobe and tap the blue button panel. Press the symbol buttons that match the FREEDOM sticker clues.
- Step 9: The panel opens. Collect the USB Cable.
Phase 3: Charge the Camera
- Step 10: Tap the digital box on the bedside table and enter the code:
- 1235
- Collect the Power Bank.
- Step 11: Combine the Power Bank with the USB Cable and connect them to the dead camera.
- Step 12: Solve the picture puzzle shown on the camera screen, then copy the same pattern onto the bedroom’s Metal Ring Frame.
- Phase 4: Complete the Final Puzzle
- Step 13: Use the Key to open the red suitcase under the bed and collect the Photo Fragments.
- Step 14: Go to the laptop/scanner table in the closet and assemble the photo pieces to complete the portrait.
- Step 15: Once the photograph is complete, the final secret is revealed and the level ends automatically.
- Congratulations! Level 4 Completed!
Video Walkthrough
Congratulations on completing Chapter 6 – Level 4! Click here to unlock Chapter 6 – Level 5.