Here you will get solutions and step by step guide for Rooms & Exits Chapter 6 Level 8. In this puzzle developed by Webelinx Games. Every clue tells a story, and every puzzle brings you closer to the truth. Join Fiona, a brave journalist with a sharp eye for hidden secrets, as she investigates mysterious cases filled with unexpected surprises. This level belongs to the Dark Waters category and is the The Storm Within Fiona level.
Search for clues, solve challenging puzzles, and uncover the secrets hidden in every location. Each level offers a fresh mystery that will test your observation skills and logical thinking. Whether you enjoy detective stories, escape room challenges, or brain-teasing adventures, this game delivers an exciting experience from start to finish.

Rooms & Exits The Storm Within Fiona – Chapter 6 Level 8 Solution
The following guide explains how to solve Rooms and Exits The Storm Within Fiona step by step.
If you get stuck at any point, leave a comment below. Our team will be happy to help you find the solution.
Get the Maze Piece
- Step 1: Start the level with Fiona handcuffed.
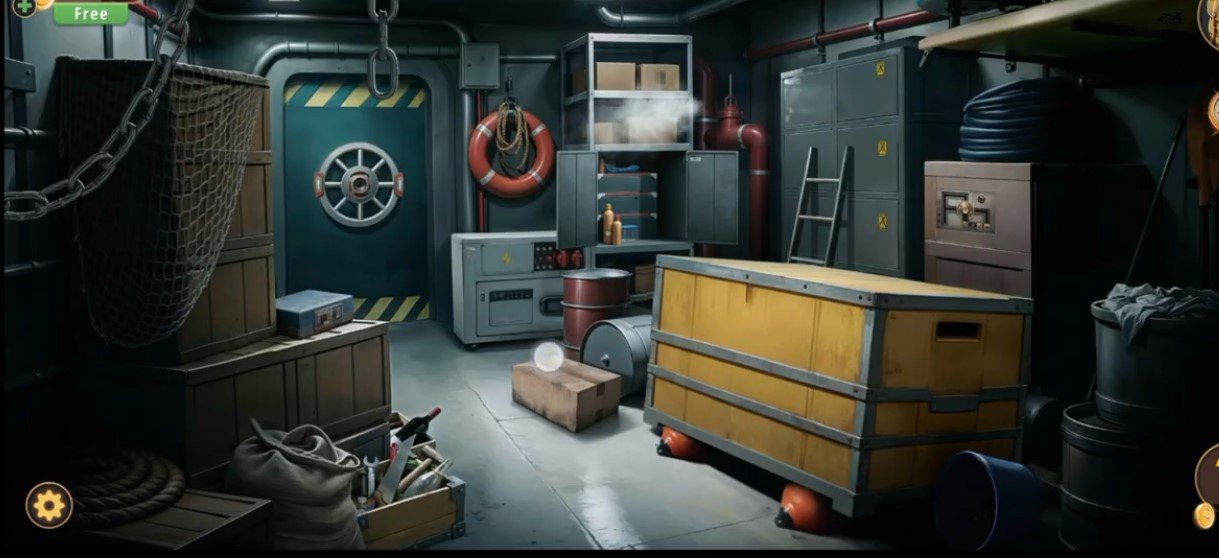
- Step 2: Tap the wooden crate on the right side of the room.
- Step 3: Collect the buoys and metal puzzle piece.
Solve the Key Track
- Step 1: Tap the small metal panel puzzle on the wall.
- Step 2: Insert the metal puzzle piece into the slot.
- Step 3: Slide the piece through the track correctly.
- Step 4: Reach the end to activate the mechanism.
- Step 5: Unlock Fiona’s handcuffs.
Collect Tools
- Step 1: Open the metal locker on the right wall.
- Step 2: Collect the air pump and bottle.
- Step 3: Look under the large center crate.
- Step 4: Collect the key and red mechanical valve wheel.
Inflate the Buoys
- Step 1: Open your inventory.
- Step 2: Combine the buoys with the air pump.
- Step 3: Inflate the buoys.
- Step 4: Place them under the heavy wooden crate.
- Step 5: Lift the crate and collect the knife.
Open the Sealed Box
- Step 1: Find the sealed cardboard box on the shelf.
- Step 2: Use the knife to open the box.
- Step 3: Collect the sea animal stickers.
- Step 4: Collect the diving goggles.
Examine the Circuit Board
- Step 1: Find the metal panel with the lightning bolt symbol.
- Step 2: Use the screwdriver to open the panel.
- Step 3: Reveal the colored wire puzzle.
Wire Target Calibration
- Step 1: Check the sticker guide sheet.
- Step 2: Match the wire colors with the symbols.
- Step 3: Connect the wires in the correct order: Blue, Yellow, Red, Green.
- Step 4: Restore the main power system.
The Anchor Slider Box
- Step 1: Find the sliding puzzle box with the anchor symbol.
- Step 2: Move the stone blocks to clear the path.
- Step 3: Slide the anchor block to the right side.
- Step 4: Open the cache.
- Step 5: Collect the second mechanical tile.
The Symbol Dial Lock
- Step 1: Go to the rotating dial lock panel.
- Step 2: Insert the missing tile.
- Step 3: Match the steering wheels, anchors, and ship symbols.
- Step 4: Unlock the hatch door.
- Step 5: Enter the indoor diving pool room.
The Safe & The Charger
- Step 1: Use the silver key on the wall cabinet.
- Step 2: Open the cabinet.
- Step 3: Collect the headlamp and battery charger unit.
Charge the Cells
- Step 1: Take the empty green batteries from your inventory.
- Step 2: Connect the charger to the electrical outlet.
- Step 3: Insert the dead batteries into the charger.
- Step 4: Wait until the indicator turns green.
Assemble your Dive Gear
- Step 1: Combine the charged batteries with the headlamp.
- Step 2: Create a working headlamp.
- Step 3: Use the air compressor near the pool.
- Step 4: Refill the yellow oxygen tank.
Escape through the Hatchstrongli
- Step 1: Collect all scuba equipment from your inventory.
- Step 2: Gather the fins, diving mask, oxygen tank, and diving suit.
- Step 3: Place the equipment on the locker hooks.
- Step 4: Wear the complete diving gear.
- Step 5: Fiona dives through the pool hatch and completes the chapter.
Video Walkthrough
Congratulations on completing Chapter 6 – Level 8! Click here to unlock Chapter 6 – Level 9.