Here you will get solutions and step by step guide for Rooms & Exits Chapter 6 Level 9. In this puzzle developed by Webelinx Games. Every clue tells a story, and every puzzle brings you closer to the truth. Join Fiona, a brave journalist with a sharp eye for hidden secrets, as she investigates mysterious cases filled with unexpected surprises. This level belongs to the Dark Waters category and is the Unlocking the Truth level.
Search for clues, solve challenging puzzles, and uncover the secrets hidden in every location. Each level offers a fresh mystery that will test your observation skills and logical thinking. Whether you enjoy detective stories, escape room challenges, or brain-teasing adventures, this game delivers an exciting experience from start to finish.

Rooms & Exits Unlocking the Truth – Chapter 6 Level 9 Solution
The following guide explains how to solve Rooms and Exits Unlocking the Truth step by step.
If you get stuck at any point, leave a comment below. Our team will be happy to help you find the solution.
Search the Main Deck
- Step 1: Look around the yacht deck area.
- Step 2: Check the lounge chairs and tables.
- Step 3: Collect the cushion piece from the seating bench.
- Step 4: Pick up the small screwdriver from the drink holder.
- Step 5: Collect the dirty cloth near the railing.
The Rope Knot Puzzle
- Step 1: Find the tangled ropes near the life preserver.
- Step 2: Tap the rope puzzle.
- Step 3: Untangle the ropes one by one.
- Step 4: Make sure no ropes cross each other.
- Step 5: Collect the rope with a hook.
The Locked Helm Cabinet
- Step 1: Go to the ship’s wheel control panel.
- Step 2: Use the screwdriver on the cover under the dashboard.
- Step 3: Remove the protective cover.
- Step 4: Reveal the grid puzzle that needs four colored steering tokens.
The Glass Table Slide
- Step 1: Check the glass table with the grid pattern.
- Step 2: Place the cushion piece on the grid.
- Step 3: Move the blocks until they match the door pattern.
- Step 4: Open the hidden compartment.
- Step 5: Collect the blue wheel emblem.
Clean the Mirror Clue
- Step 1: Open your inventory.
- Step 2: Combine the dirty cloth with the water bottle.
- Step 3: Use the wet cloth on the dirty window near the cabin entry.
- Step 4: Reveal the arrow sequence: Up, Right, Down, Down, Left, Up.
The Direction Arrow Keypad
- Step 1: Go to the wall panel near the locked cabin door.
- Step 2: Enter the arrow sequence correctly.
- Step 3: Open the panel.
- Step 4: Collect the green wheel emblem and wire cutters.
Fish Out the Sunken Object
- Step 1: Go to the back edge of the yacht.
- Step 2: Equip the rope with the hook.
- Step 3: Drop the hook into the water.
- Step 4: Pull up the seaweed-covered metal lockbox.
Snip the Metal Mesh
- Step 1: Use the wire cutters on the rusted metal mesh.
- Step 2: Open the lockbox.
- Step 3: Collect the yellow wheel emblem.
- Step 4: Take the paper with the grid coordinate puzzle.
Collect the Red Token
- Step 1: Find the emergency fire axe cabinet.
- Step 2: Break the cabinet latch using a tool.
- Step 3: Open the cabinet.
- Step 4: Collect the red wheel emblem.
Insert the Emblems
- Step 1: Return to the ship steering station.
- Step 2: Insert the four wheel emblems.
- Step 3: Place the tokens: Blue, Green, Yellow, Red.
The Color Alignment Grid
- Step 1: Rotate the dial paths.
- Step 2: Match each token with the correct color target.
- Step 3: Complete the alignment puzzle.
Activate the GPS & Escape
- Step 1: Wait for the GPS and control system to turn on.
- Step 2: Use the coordinates from the paper puzzle.
- Step 3: Enter the coordinates into the radar screen.
- Step 4: Unlock the steering system.
- Step 5: Escape and complete the level.
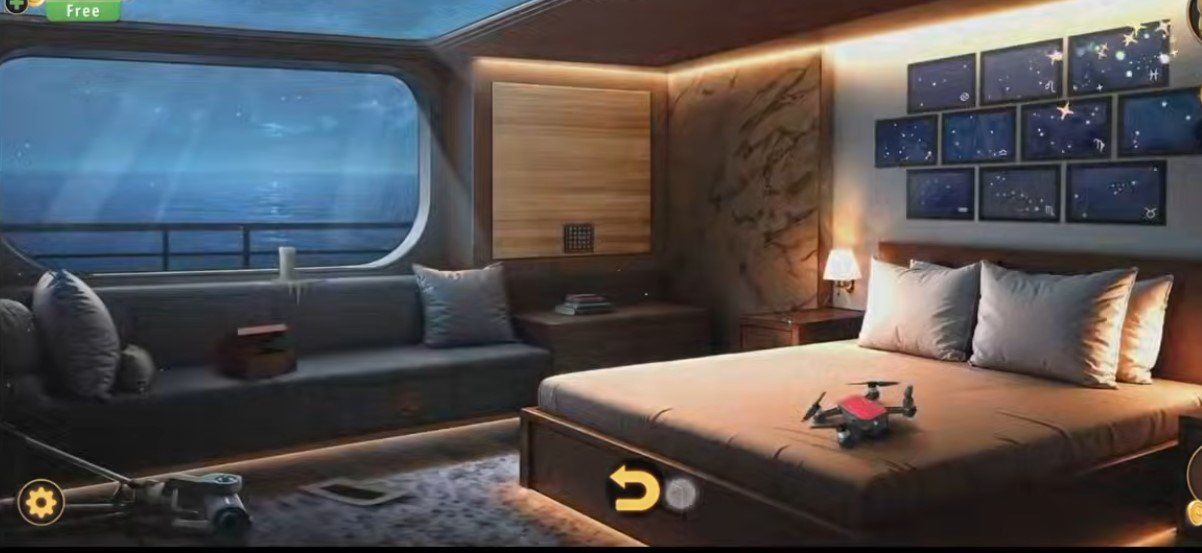
Video Walkthrough
Congratulations on completing Chapter 6 – Level 9! Click here to unlock Chapter 6 – Level 10.