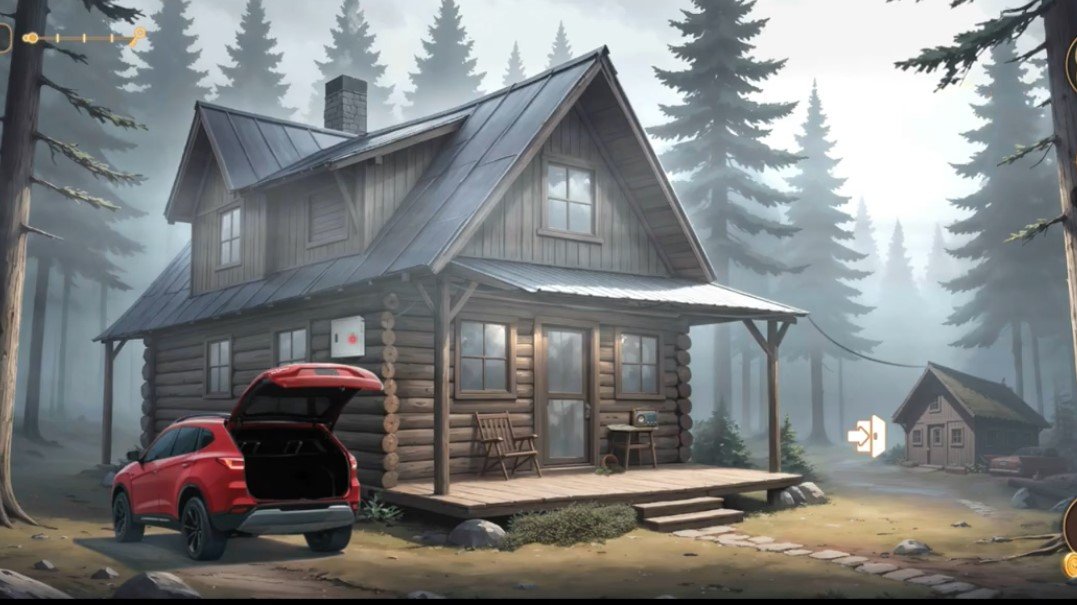
Here you will get solutions and step by step guide for Rooms & Exits Chapter 7 Level 1. In this puzzle developed by Webelinx Games. Every clue tells a story, and every puzzle brings you closer to the truth. Join Fiona, a brave journalist with a sharp eye for hidden secrets, as she investigates mysterious cases filled with unexpected surprises. This level belongs to the Cabin in the Woods category and is the The Calm Before the Storm level.
Search for clues, solve challenging puzzles, and uncover the secrets hidden in every location. Each level offers a fresh mystery that will test your observation skills and logical thinking. Whether you enjoy detective stories, escape room challenges, or brain-teasing adventures, this game delivers an exciting experience from start to finish.

Rooms & Exits The Calm Before the Storm – Chapter 7 Level 1 Solution
The following guide explains how to solve Rooms and Exits The Calm Before the Storm step by step.
If you get stuck at any point, leave a comment below. Our team will be happy to help you find the solution.
Gather Initial Items
- Step 1: Look around the cabin living room area.
- Step 2: Pick up the box of matches from the fireplace mantel.
- Step 3: Collect the candle from the side table.
- Step 4: Pick up the blue rag near the armchair.
Retrieve the Key
- Step 1: Go to the jacket hanging near the door.
- Step 2: Check the jacket pockets.
- Step 3: Collect the small key.
Unlock the Desk Drawer
- Step 1: Find the locked drawer on the wooden desk.
- Step 2: Use the small key to unlock it.
- Step 3: Open the drawer.
- Step 4: Collect the cleaning liquid bottle.
Get the Crowbar
- Step 1: Open your inventory.
- Step 2: Combine the blue rag with the cleaning liquid.
- Step 3: Use the wet rag on the dirty window.
- Step 4: Reveal the hidden directional symbol clue.
- Step 5: Copy the symbol sequence on the floor lock box.
- Step 6: Open the box and collect the heavy crowbar.
Pry the Boards
- Step 1: Go to the blocked wooden doorway or floor area.
- Step 2: Use the crowbar on the nailed wooden planks.
- Step 3: Remove the boards one by one.
- Step 4: Open the hidden hatch.
Light the Way
- Step 2: Use the matches to light the candle.
- Step 3: Place the candle near the dark basement entrance.
- Step 4: Light up the stairs and enter the basement.
The Work Desk Items
- Step 1: Search the basement workspace.
- Step 2: Find the tool rack.
- Step 3: Collect the wire cutters.
- Step 4: Find the shelving unit.
- Step 5: Collect the handle crank.
Cut the Wiring Protective Mesh
- Step 1: Find the wire mesh panel on the basement wall.
- Step 2: Use the wire cutters on the mesh.
- Step 3: Open the panel.
- Step 4: Reveal the colored circuit layout.
Align the Colored Pins
- Step 1: Move the colored wires on the circuit grid.
- Step 2: Match the colors: Red, Blue, Green, Yellow.
- Step 3: Connect each wire to the correct power point.
- Step 4: Complete the circuit.
- Step 5: Collect the hidden keycard.
Decipher the Wall Chart Clue
- Step 1: Check the wildlife chart on the basement wall.
- Step 2: Observe the deer, fish, and bird sections.
- Step 3: Count the required numbers.
- Step 4: Create the 4-digit code.
The Electronic Terminal
- Step 1: Return to the main door upstairs.
- Step 2: Find the electronic lock panel.
- Step 3: Swipe the keycard on the reader.
Punch in the Code
- Step 1: Enter the 4-digit code from the basement chart.
- Step 2: Wait for the security lock to open.
Escape
- Step 1: Push open the heavy wooden door.
- Step 2: Walk outside the cabin.
- Step 3: Successfully complete the level.
Video Walkthrough
Congratulations on completing Chapter 7 – Level 1! Click here to unlock Chapter 7 – Level 2.