Here you will get solutions and step by step guide for Rooms & Exits Chapter 2 Level 5. In this puzzle developed by Webelinx Games. Every clue tells a story, and every puzzle brings you closer to the truth. Join Fiona, a brave journalist with a sharp eye for hidden secrets, as she investigates mysterious cases filled with unexpected surprises. This level belongs to the No Honor Among Thieves category and is the Gym level.
Search for clues, solve challenging puzzles, and uncover the secrets hidden in every location. Each level offers a fresh mystery that will test your observation skills and logical thinking. Whether you enjoy detective stories, escape room challenges, or brain-teasing adventures, this game delivers an exciting experience from start to finish.

Rooms & Exits Gym – Chapter 2 Level 5 Solution
The following guide explains how to solve Rooms and Exits Gym step by step.
If you get stuck at any point, leave a comment below. Our team will be happy to help you find the solution.
Phase 1: Collect the First Items & Solve the Locker Puzzle
Collect the Towel & Key
- Step 1: Tap the reception desk at the front of the gym.
- Step 2: Collect the Towel from the counter.
- Step 3: Look behind the reception desk.
- Step 4: Collect the Small Silver Key from the key hooks.
Find the Locker Clue
- Step 5: Check the rack of dumbbells and weight plates.
- Step 6: Note the color order:
- Red → Green → Yellow → Blue
Open the Employee Locker
- Step 7: Go to the locker room.
- Step 8: Use the Small Silver Key to unlock the employee locker.
- Step 9: Tap the gym bag inside the locker.
- Step 10: Arrange the color wheels in this order:
- Step 11: Open the gym bag and collect the Wrench and USB Drive.
Phase 2: Activate the Treadmills
Repair the Treadmill
- Step 1: Go to the main treadmill.
- Step 2: Use the Wrench to remove the side cover.
- Step 3: Connect the loose wires by matching the wire colors.
- Step 4: Restore power to the treadmill.
Find the Security Code
- Step 5: Insert the USB Drive into the treadmill monitor.
- Step 6: Complete the treadmill puzzle.
- Step 7: Note the security code 8631.
Phase 3: Unlock the Storage Cabinet & Escape
Collect the Protein Shaker
- Step 1: Go to the supplement storage cabinet.
- Step 2: Enter the code 8631.
- Step 3: Open the cabinet and collect the Protein Shaker Bottle.
Find the Master Keycard
- Step 4: Return to the locker room mirror.
- Step 5: Pour water from the Protein Shaker Bottle onto the fogged mirror.
- Step 6: Use the Towel to wipe the mirror clean.
- Step 7: Reveal the hidden puzzle behind the mirror.
- Step 8: Solve the wall lever puzzle to open the secret compartment.
- Step 9: Collect the Master Door Keycard.
Escape the Gym
- Step 10: Return to the front entrance.
- Step 11: Swipe the Master Door Keycard on the exit scanner.
- Step 12: Open the automatic doors and escape to complete Level 5.
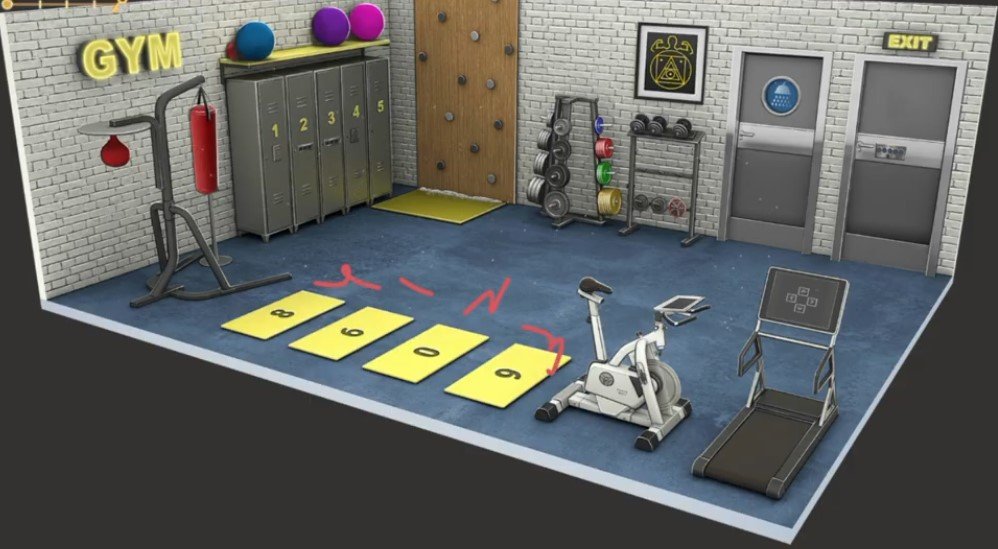
Video Walkthrough
Congratulations on completing Chapter 2 – Level 5! Click here to unlock Chapter 2 – Level 6.