Here you will get solutions and step by step guide for Rooms & Exits Chapter 6 Level 5. In this puzzle developed by Webelinx Games. Every clue tells a story, and every puzzle brings you closer to the truth. Join Fiona, a brave journalist with a sharp eye for hidden secrets, as she investigates mysterious cases filled with unexpected surprises. This level belongs to the Dark Waters category and is the A Silent Heartbreak level.
Search for clues, solve challenging puzzles, and uncover the secrets hidden in every location. Each level offers a fresh mystery that will test your observation skills and logical thinking. Whether you enjoy detective stories, escape room challenges, or brain-teasing adventures, this game delivers an exciting experience from start to finish.

Rooms & Exits A Silent Heartbreak – Chapter 6 Level 5 Solution
The following guide explains how to solve Rooms and Exits A Silent Heartbreak step by step.
If you get stuck at any point, leave a comment below. Our team will be happy to help you find the solution.
Phase 1: Collect Clues & Fingerprint
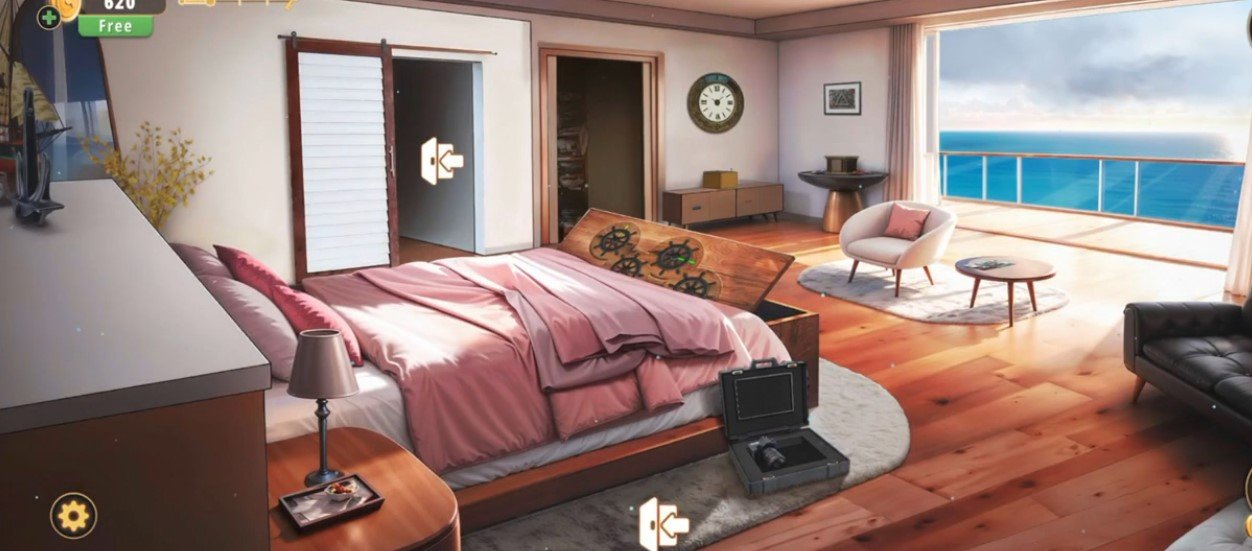
- Step 1: Tap the grey briefcase on the bedroom bench and rotate the rings to complete the gemstone shape.
- Step 2: Open the briefcase and collect the Brush.
- Step 3: Open the closet drawer and collect the Photo, Percentage Sheet, and Talcum Powder.
- Step 4: Combine the Brush with the Talcum Powder in your inventory.
- Step 5: Go to the bathroom and use the powder brush on the mirror. Place the tape over the fingerprint to lift it.
- Step 6: Combine the Fingerprint Tape with the Silicone Gun to create a 3D Fingerprint Token.
Phase 2: Find the Bank PIN
- Step 7: Go to the closet laptop and scan the 3D Fingerprint Token to unlock the computer.
- Step 8: Compare the fenced yard photo with the colored sticky note clues.
- Step 9: Find the safe code:
- 24865
- Step 10: Enter the code into the side table safe and collect the Celtic Knot Token.
Phase 3: Solve the Celtic Knot Puzzles
- Step 11: Tap the maze box in the living room and slide the toy sailboat from the top-right corner to the bottom-right exit.
- Step 12: Complete the maze to collect the Second Celtic Knot Piece.
- Step 13: Open the laptop color-mixing screen and set the sliders using the percentage sheet:
- Red – 45%
- Green – 10%
- Blue – 80%
- Step 14: Go to the balcony wall box, place all the Celtic Knot Tokens, and rotate them to match the decoded pattern.
Phase 4: Complete the Story
- Step 15: Open the wall compartment and collect the Mobile Phone and Golden Flower.
- Step 16: Play the saved voice message on the mobile phone.
- Step 17: Place the Golden Flower into the drawer puzzle, rotate it correctly, and collect the Silver Key.
- Step 18: Use the Silver Key to unlock the leather diary and read Megan’s final diary entries.
- Congratulations! Level 5 Completed!
Video Walkthrough
Congratulations on completing Chapter 6 – Level 5! Click here to unlock Chapter 6 – Level 6.