Here you will get solutions and step by step guide for Rooms & Exits Chapter 6 Level 6. In this puzzle developed by Webelinx Games. Every clue tells a story, and every puzzle brings you closer to the truth. Join Fiona, a brave journalist with a sharp eye for hidden secrets, as she investigates mysterious cases filled with unexpected surprises. This level belongs to the Dark Waters category and is the David’s Moment Of Truth level.
Search for clues, solve challenging puzzles, and uncover the secrets hidden in every location. Each level offers a fresh mystery that will test your observation skills and logical thinking. Whether you enjoy detective stories, escape room challenges, or brain-teasing adventures, this game delivers an exciting experience from start to finish.

Rooms & Exits David’s Moment Of Truth – Chapter 6 Level 6 Solution
The following guide explains how to solve Rooms and Exits David’s Moment Of Truth step by step.
If you get stuck at any point, leave a comment below. Our team will be happy to help you find the solution.
Search the Living Area
- Step 1: Look around the main lounge area.
- Step 2: Pick up the remote control from the couch.
- Step 3: Collect the screwdriver from the side table.
- Step 4: Take the blank notebook/paper sheet from the desk.
The Grid Box
- Step 1: Find the grid panel storage drawer.
- Step 2: Examine the slider puzzle.
- Step 3: Match the paths correctly on the grid.
- Step 4: Unlock the drawer.
- Step 5: Collect the UV blacklight flashlight.
The Boat Painting Clue
- Step 1: Tap the large boat picture frame.
- Step 2: Observe the details in the painting.
- Step 3: Count the flags, sail patterns, and other objects.
- Step 4: Use the screwdriver on the hidden screws.
- Step 5: Open the hidden compartment and collect the clue.
The Remote & The TV Screen
- Step 1: Open your inventory.
- Step 2: Combine the remote control with the batteries.
- Step 3: Point the remote at the wall monitor.
- Step 4: Turn on the display.
- Step 5: Note the colored grid sequence shown on the screen.
The UV Flashlight Revelations
- Step 1: Turn on the UV blacklight flashlight.
- Step 2: Use it on the blank paper.
- Step 3: Reveal the hidden markings.
- Step 4: Observe the coordinate paths and symbols.
The Laptop Access
- Step 1: Go to the main desk computer.
- Step 2: Use the coordinate clues from the UV paper.
- Step 3: Match them with the monitor pattern.
- Step 4: Enter the correct login pattern.
- Step 5: Unlock the computer system.
Solve the Safe Panel
- Step 1: Find the mini vault safe inside the cabinet.
- Step 2: Rotate the mechanical layers.
- Step 3: Align the geometric markers correctly.
- Step 4: Open the safe.
- Step 5: Collect the navigation compass piece and coastal maps.
Plot the Sea Navigation
- Step 1: Place the coastal maps on the glass plotting table.
- Step 2: Use the navigation compass piece.
- Step 3: Match the straight vector lines with David’s journey notes.
- Step 4: Complete the sea route map.
The Wall Dial Security Grid
- Step 1: Go to the electronic exit panel on the wall.
- Step 2: Use the intersection numbers from the sea map route.
- Step 3: Enter the correct values into the security grid.
Final Escape
- Step 1: Go to the keypad near the door.
- Step 2: Enter the final decrypted code.
- Step 3: Wait for the security lock to open.
- Step 4: Escape and complete Level 6: David’s Moment of Truth.
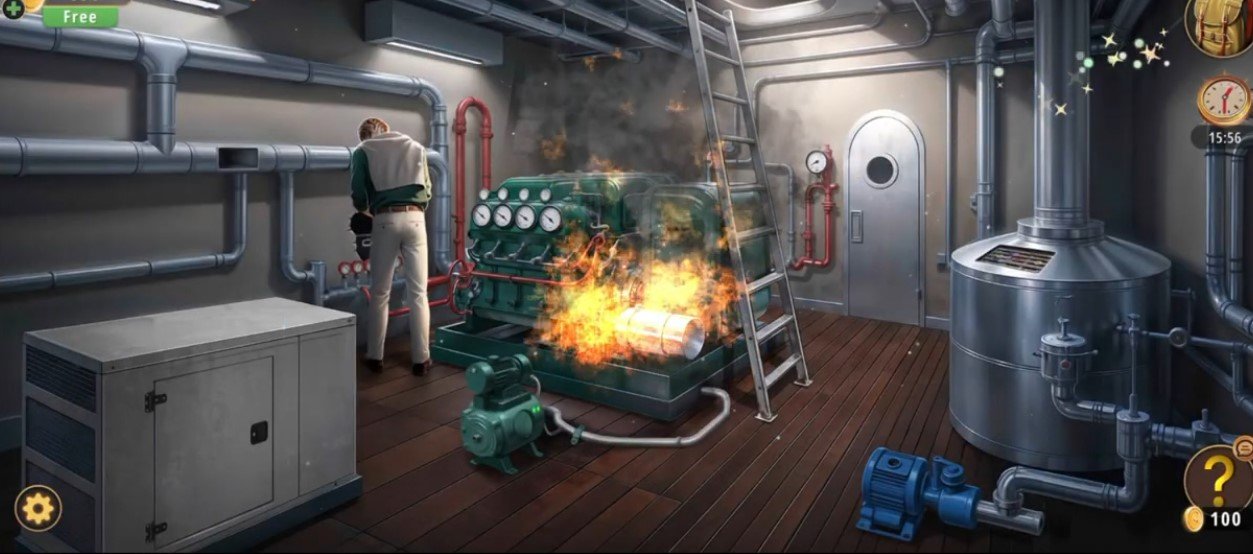
Video Walkthrough
Congratulations on completing Chapter 6 – Level 6! Click here to unlock Chapter 6 – Level 7.