Here you will get solutions and step by step guide for Rooms & Exits Chapter 4 Level 12. In this puzzle developed by Webelinx Games. Every clue tells a story, and every puzzle brings you closer to the truth. Join Fiona, a brave journalist with a sharp eye for hidden secrets, as she investigates mysterious cases filled with unexpected surprises. This level belongs to the Pharaoh’s Bride category and is the Medical History level.
Search for clues, solve challenging puzzles, and uncover the secrets hidden in every location. Each level offers a fresh mystery that will test your observation skills and logical thinking. Whether you enjoy detective stories, escape room challenges, or brain-teasing adventures, this game delivers an exciting experience from start to finish.

Rooms & Exits Medical History – Chapter 4 Level 12 Solution
The following guide explains how to solve Rooms and Exits Medical History step by step.
If you get stuck at any point, leave a comment below. Our team will be happy to help you find the solution.
Phase 1: Unlock the Desk & Get the First Skull
- Step 1: Tap the doctor’s desk and collect the Scalpel.
- Step 2: Tap the desk drawer and solve the ring connection puzzle.
- Step 3: Open the drawer and collect the Tweezers and Small Key.
- Step 4: Go to the specimen jars.
- Step 5: Use the Tweezers to take the Plastic Token from the jar.
- Step 6: Go to the medical glass cabinet.
- Step 7: Use the Small Key to unlock it.
- Step 8: Collect the Skull Model (1/2).
Phase 2: Solve the X-Ray & Safe Puzzles
- Step 1: Go to the X-ray board.
- Step 2: Place the Plastic Token in the empty slot.
- Step 3: Note the highlighted coordinates: A3, B1, C4, D2.
- Step 4: Go to the dental jaw model.
- Step 5: Press the correct teeth based on the wall chart.
- Step 6: Collect the Stethoscope.
- Step 7: Go to the wall safe.
- Step 8: Use the Stethoscope on the safe dial.
- Step 9: Enter the code 3142.
- Step 10: Open the safe and collect the Skull Model (2/2) and Flashlight.
Phase 3: Escape
- Step 1: Go to the two skeleton pillars near the back door.
- Step 2: Place one Skull Model on each pillar.
- Step 3: Enter the hidden laboratory.
- Step 4: Use the Flashlight to light up the room.
- Step 5: Use the Scalpel to cut open the specimen bag.
- Step 6: Collect the Dropper.
- Step 7: Solve the chemical liquid puzzle and make the center flask Purple.
- Step 8: Note the code 8631.
- Step 9: Go to the exit door.
- Step 10: Enter 8631 and escape to complete Level 12.
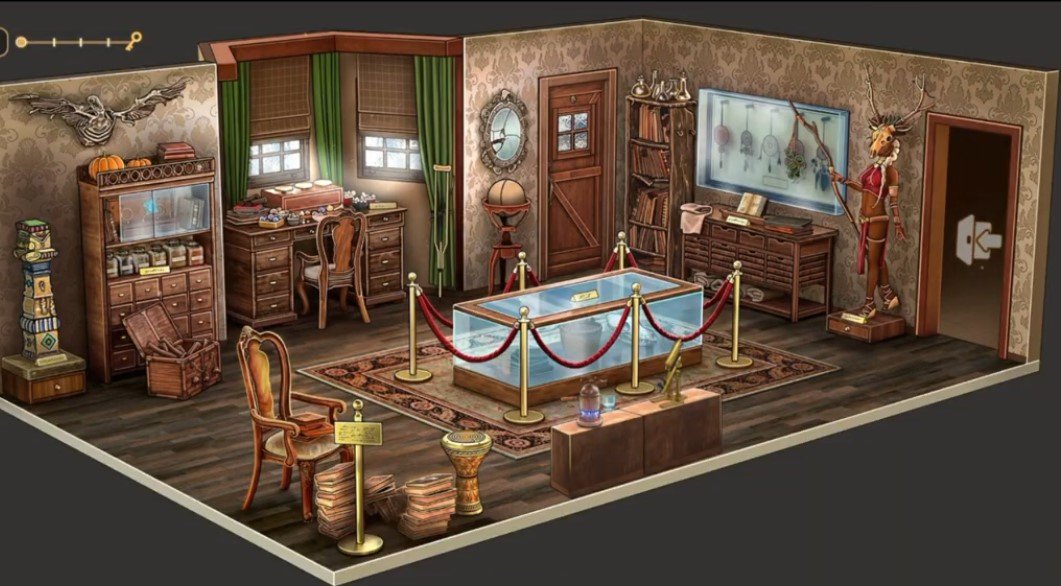
Video Walkthrough
Congratulations on completing Chapter 4 – Level 12! Click here to unlock Chapter 4 – Level 13.