Here you will get solutions and step by step guide for Rooms & Exits Chapter 4 Level 13. In this puzzle developed by Webelinx Games. Every clue tells a story, and every puzzle brings you closer to the truth. Join Fiona, a brave journalist with a sharp eye for hidden secrets, as she investigates mysterious cases filled with unexpected surprises. This level belongs to the Pharaoh’s Bride category and is the Mayas and Incas level.
Search for clues, solve challenging puzzles, and uncover the secrets hidden in every location. Each level offers a fresh mystery that will test your observation skills and logical thinking. Whether you enjoy detective stories, escape room challenges, or brain-teasing adventures, this game delivers an exciting experience from start to finish.

Rooms & Exits Mayas and Incas – Chapter 4 Level 13 Solution
The following guide explains how to solve Rooms and Exits Mayas and Incas step by step.
If you get stuck at any point, leave a comment below. Our team will be happy to help you find the solution.
Phase 1: Explore the Ancient Chambers
- Step 1: Tap the storage rack on the left and collect the Green Gem.
- Step 2: Tap the wall blocks and press them in the correct order.
- Step 3: Open the hidden panel and collect the Passcode Note (231).
- Step 4: Go through the right archway to the pond room.
- Step 5: Move the decorative badge in the left storage area.
- Step 6: Collect the Metal Plate.
- Step 7: Combine the Coin with the Metal Plate.
- Step 8: Place the combined token into the shield socket.
- Step 9: Rotate the rings until the pattern matches.
- Step 10: Open the compartment and collect the Screwdriver.
Phase 2: Restore the Power
- Step 1: Return to the first room.
- Step 2: Use the Screwdriver to open the electrical panel.
- Step 3: Restore the power and activate the laser.
- Step 4: Go back to the pond room.
- Step 5: Place the Green Gem on the left decorative pot.
- Step 6: Move the second gem to the back row.
- Step 7: Collect the Jewel.
- Step 8: Return to the first room.
- Step 9: Place the Jewel on the wall shield.
- Step 10: Solve the ring puzzle by turning all black stones Pink.
- Step 11: Collect the Piece of Paper.
- Step 12: Dismantle the paper to get an Image Piece.
- Step 13: Place the image in the wall frame.
- Step 14: Collect the Note.
Phase 3: Escape
- Step 1: Return to the pond room.
- Step 2: Adjust the Totem Poles to match the note.
- Step 3: Collect the Neon Lamp and another Note.
- Step 4: Install the Neon Lamp on the ceiling tracks.
- Step 5: Solve the light puzzle to reveal the code 739.
- Step 6: Return to the first room.
- Step 7: Enter 739 into the console.
- Step 8: Complete the slider puzzle to get the code 1582.
- Step 9: Return to the pond room.
- Step 10: Enter 1582 on the locked cupboard.
- Step 11: Press the button to raise the stone platform.
- Step 12: Dismantle the last paper and note the code 91574.
- Step 13: Enter 91574 on the platform console.
- Step 14: Collect the Two Stone Balls.
- Step 15: Return to the exit door.
- Step 16: Place both Stone Balls into the slots.
- Step 17: Complete the ball maze puzzle.
- Step 18: Open the door and escape to complete Level 13.
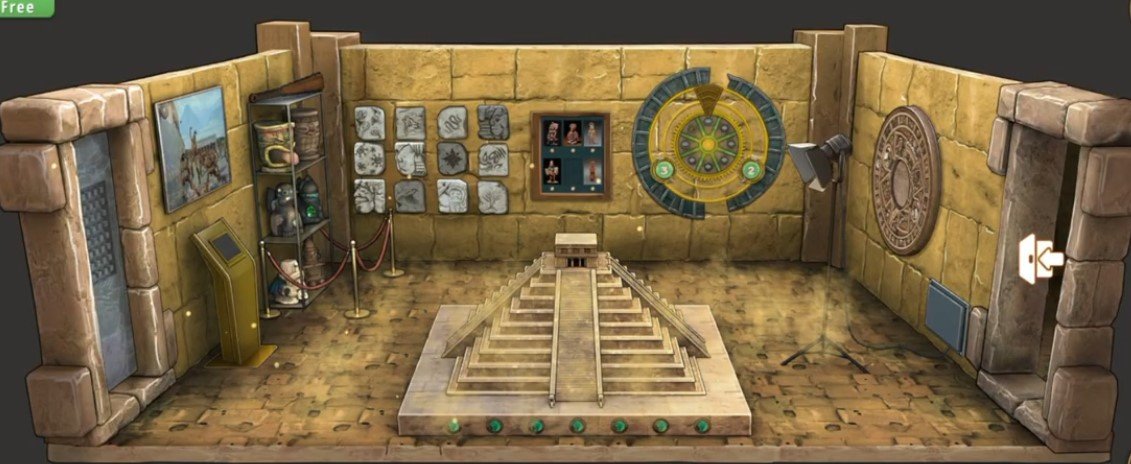
Video Walkthrough
Congratulations on completing Chapter 4 – Level 13! Click here to unlock Chapter 4 – Level 14.